What it is
The form builder lets you design the safety forms your operation actually uses — inspection checklists, permit forms, hazard audits — instead of bending your process to a fixed template. You build a form from sections, and each section holds typed fields: text, number, choice, checkbox, date and signature. Sections and fields reorder and remove with a click, and the whole form saves as you edit, so what you see is what gets published.
Every site and client asks for safety records in a slightly different shape, and a form that fits your process gets filled in properly. Building your own means the checklist matches the actual walk-around, the audit captures the right answers, and the signature is there when you need proof someone signed off. It is the difference between a form people complete and one they work around.
When to use it
- A standard template does not match how your team actually inspects or audits
- A client requires a record captured in a specific shape
- You need a signature or a date field that an off-the-shelf form lacks
- You are rolling out a new checklist across multiple sites
How it works
Step by step.
- 1
Name the form
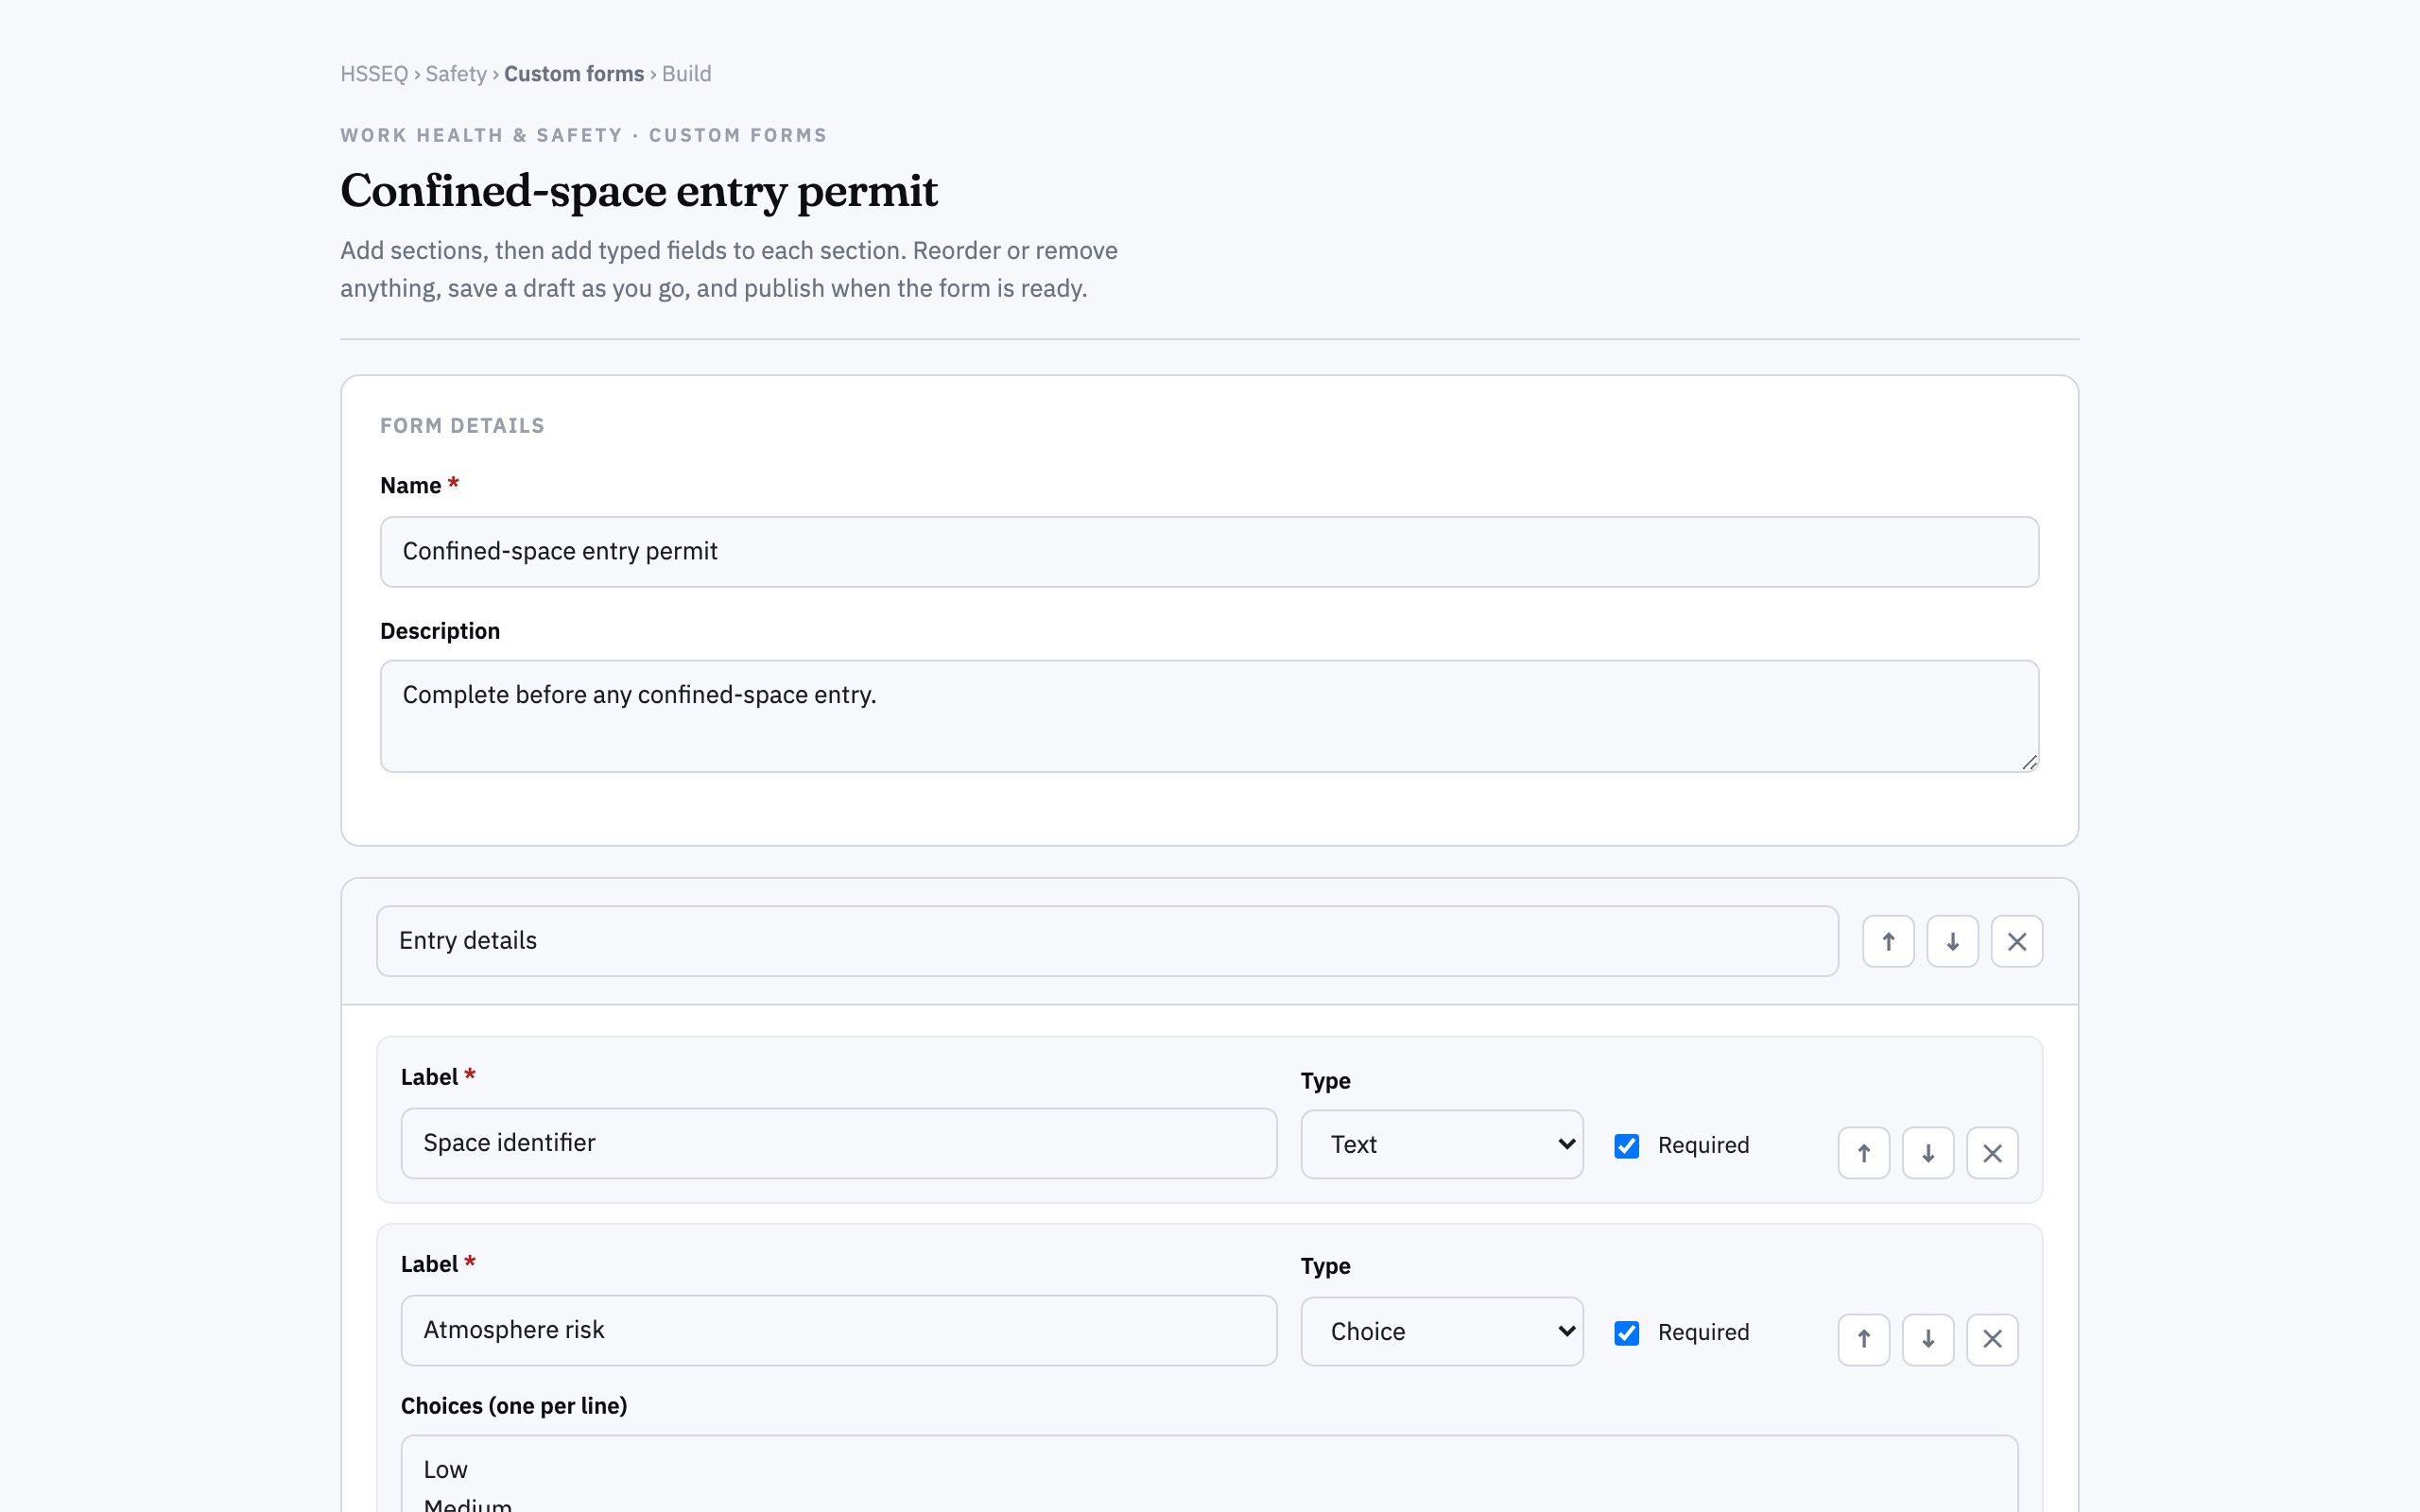
Set the form name and a short description in the details card, so people know what it captures.
- 2
Add a section
Add a section to group related questions. A long form reads best broken into a few clear sections.
- 3
Add typed fields
From the palette under each section, add fields of the type you need — text, number, choice, checkbox, date or signature.
- 4
Order the form
Move sections and fields up or down, and remove anything you do not need, until the form flows the way the walk-around does.
- 5
Review as it saves
The builder saves as you edit, so the form takes shape live. Check it reads cleanly top to bottom.
- 6
Publish it
Publish the form from the register to make it available for use. Drafts and archived versions stay separate.
Worked example
Follow it through.
The scenario
Your agency needs a forklift pre-start checklist for Coastline Logistics drivers at Docklands Distribution Centre.
- 1 Name the form "Forklift pre-start checklist" with a one-line description.
- 2 Add a section "Visual checks" with choice fields for tyres, forks and hydraulics — Pass or Fail.
- 3 Add a section "Function checks" with checkbox fields for horn, lights and brakes, and a number field for the hour-meter reading.
- 4 Add a final section "Sign-off" with a date field and a signature field for the operator.
- 5 Reorder so Visual checks comes first, then publish the form.
- 6 A driver completes it before each shift, signing off at the bottom.
The result
A published forklift pre-start checklist is in use at the distribution centre, capturing pass-fail checks, an hour-meter reading and an operator signature each shift.
Tips & notes
Good to know.
- Group fields into a few short sections rather than one long list — completion rates climb when a form feels manageable.
- Use choice and checkbox fields over free text wherever you can; structured answers are far easier to review later.
- A signature field turns a checklist into a record of accountability — add one wherever sign-off matters.
- Keep a form in draft while you trial it, then publish; archived versions stay out of the way without being lost.
When you’re done
A published, fit-for-purpose safety form is ready for teams to complete on site.