What it is
A client is the company your workforce serves. Setting one up gives you a single profile that holds its details, its sites, the people you deal with, and the rule-set that decides how shifts and pay are interpreted for its work. Everything downstream — rostering, billing, KPIs — hangs off this record, so it is worth getting right once.
You set a client up when you win new work or take on a new account. Large clients often sit inside a group — a parent company with several trading entities beneath it — and Hexis lets you model that hierarchy so reporting rolls up cleanly. The rule-set link is what tells the roster engine which awards and conditions apply, so the right pay and compliance follow automatically.
When to use it
- You have signed a new client and need a home for their work
- An existing client has added a new trading entity you bill separately
- You are migrating an account off spreadsheets into one profile
- You need a client record before you can build a roster or raise an invoice for them
How it works
Step by step.
- 1
Open the client list
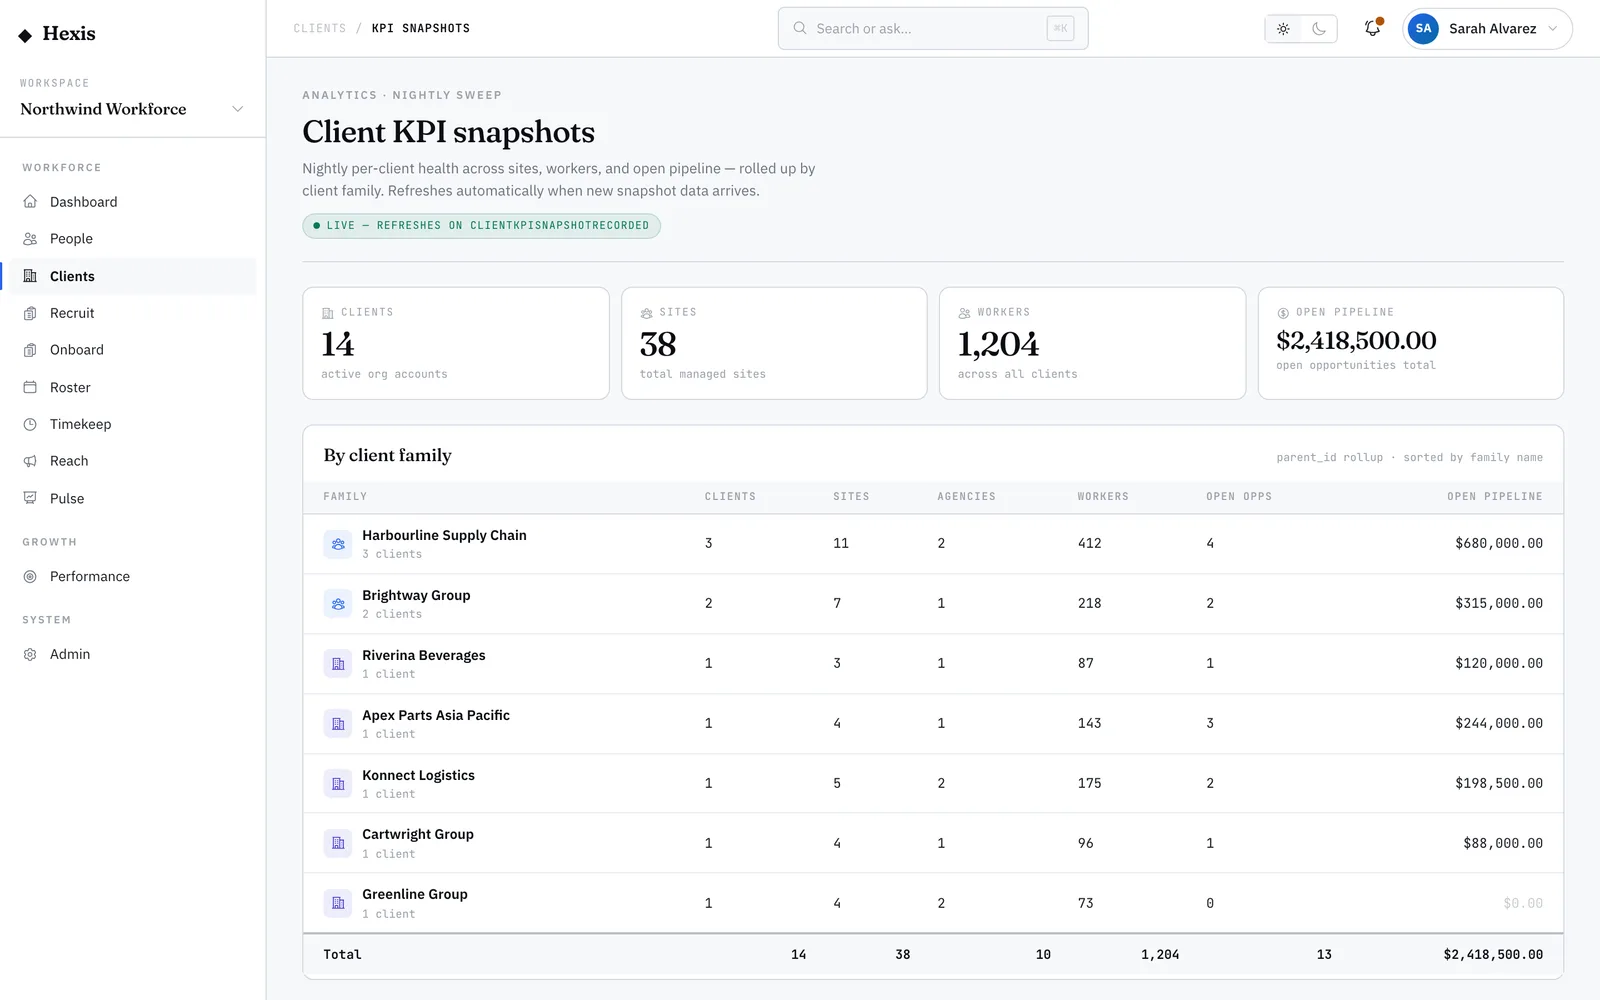
Start from the clients list, which shows every company you work for with its group position, industry and headline rollups.
- 2
Create the client
Add the company name, industry and the employing entity it trades under. If it belongs to a parent group, pick the parent so it nests correctly.
- 3
Set its place in the hierarchy
Choose whether this is a standalone client or a child of an existing parent. The group structure is what lets you report across a family of related entities.
- 4
Connect the rule-set
Associate the client with the rule-set that governs its awards and conditions. This is what the roster engine reads when it interprets shifts and pay for this client.
- 5
Save and review the profile
Save to land on the client profile, where you can then add sites, contacts and the commercial detail.
Worked example
Follow it through.
The scenario
Northwind Workforce has just signed Meridian Retail, a retail chain that trades as two entities.
- 1 Open the client list and choose to add a client.
- 2 Enter the name Meridian Retail, industry Retail, and the employing entity Meridian Retail Group Pty Ltd.
- 3 Mark Meridian Retail as the parent, then add a child entity, Meridian Retail North, beneath it.
- 4 Connect the General Retail rule-set so award interpretation follows for both entities.
- 5 Save; the profile opens, ready for sites and contacts.
The result
Meridian Retail appears in the client list as a parent with one child entity, linked to the retail rule-set and ready for sites, rosters and billing.
Tips & notes
Good to know.
- Pick the parent before you add children — nesting an existing client under a new parent later is fiddlier than getting the order right.
- The employing entity is free text on purpose: it captures exactly how the client wants to appear on invoices and contracts.
- No rule-set means no award interpretation, so connect one before you build the first roster.
- Rate cards, margin and invoicing live on the client once billing is set up — the profile flags them so you always know where to go next.
When you’re done
A clean client profile, correctly placed in its group and linked to the rules that drive its rosters and pay.